🪄 Create your first product
After completing the steps in Getting Started, you can finally create your first product in the BrixPay Console. When you connected your wallet, you need to go to /products, where you'll see a product creation form, and below that your created products:
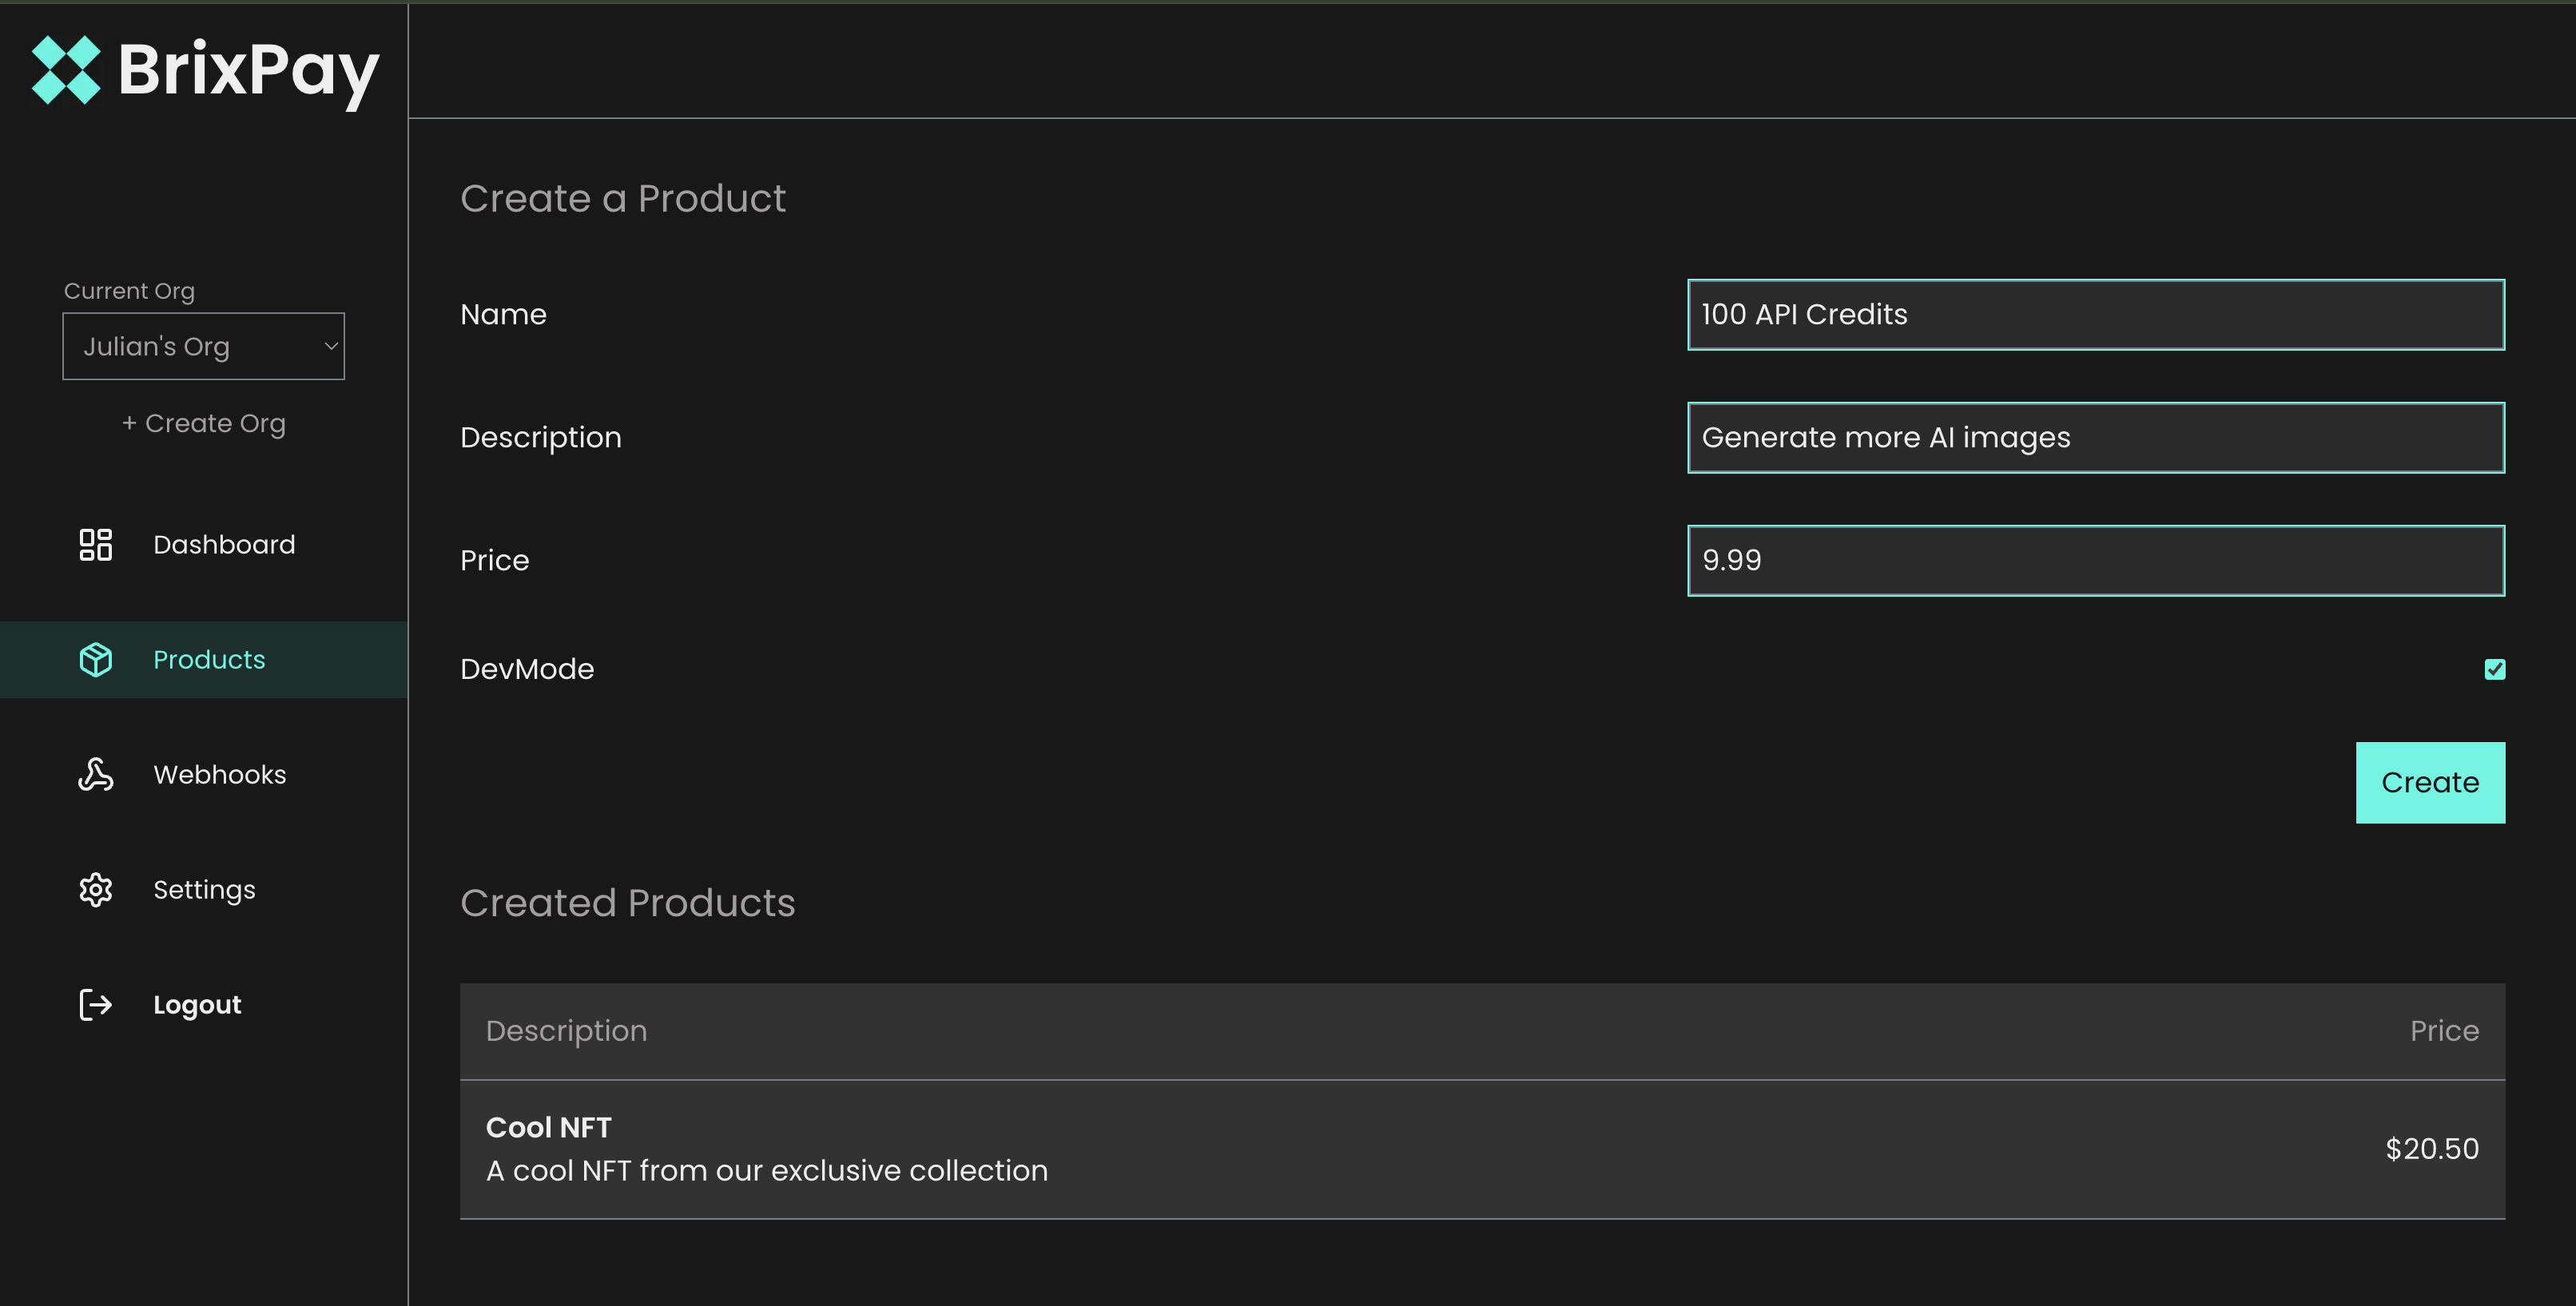
For product creation you need to provide some information, such as name, description, price and DevMode (When you turn DevMode on, you can use the Etheruem Sepolia testnet on the checkout page).
Note: You can change the values provided above after product creation, you just need to click on the product row under Created Products and click edit.
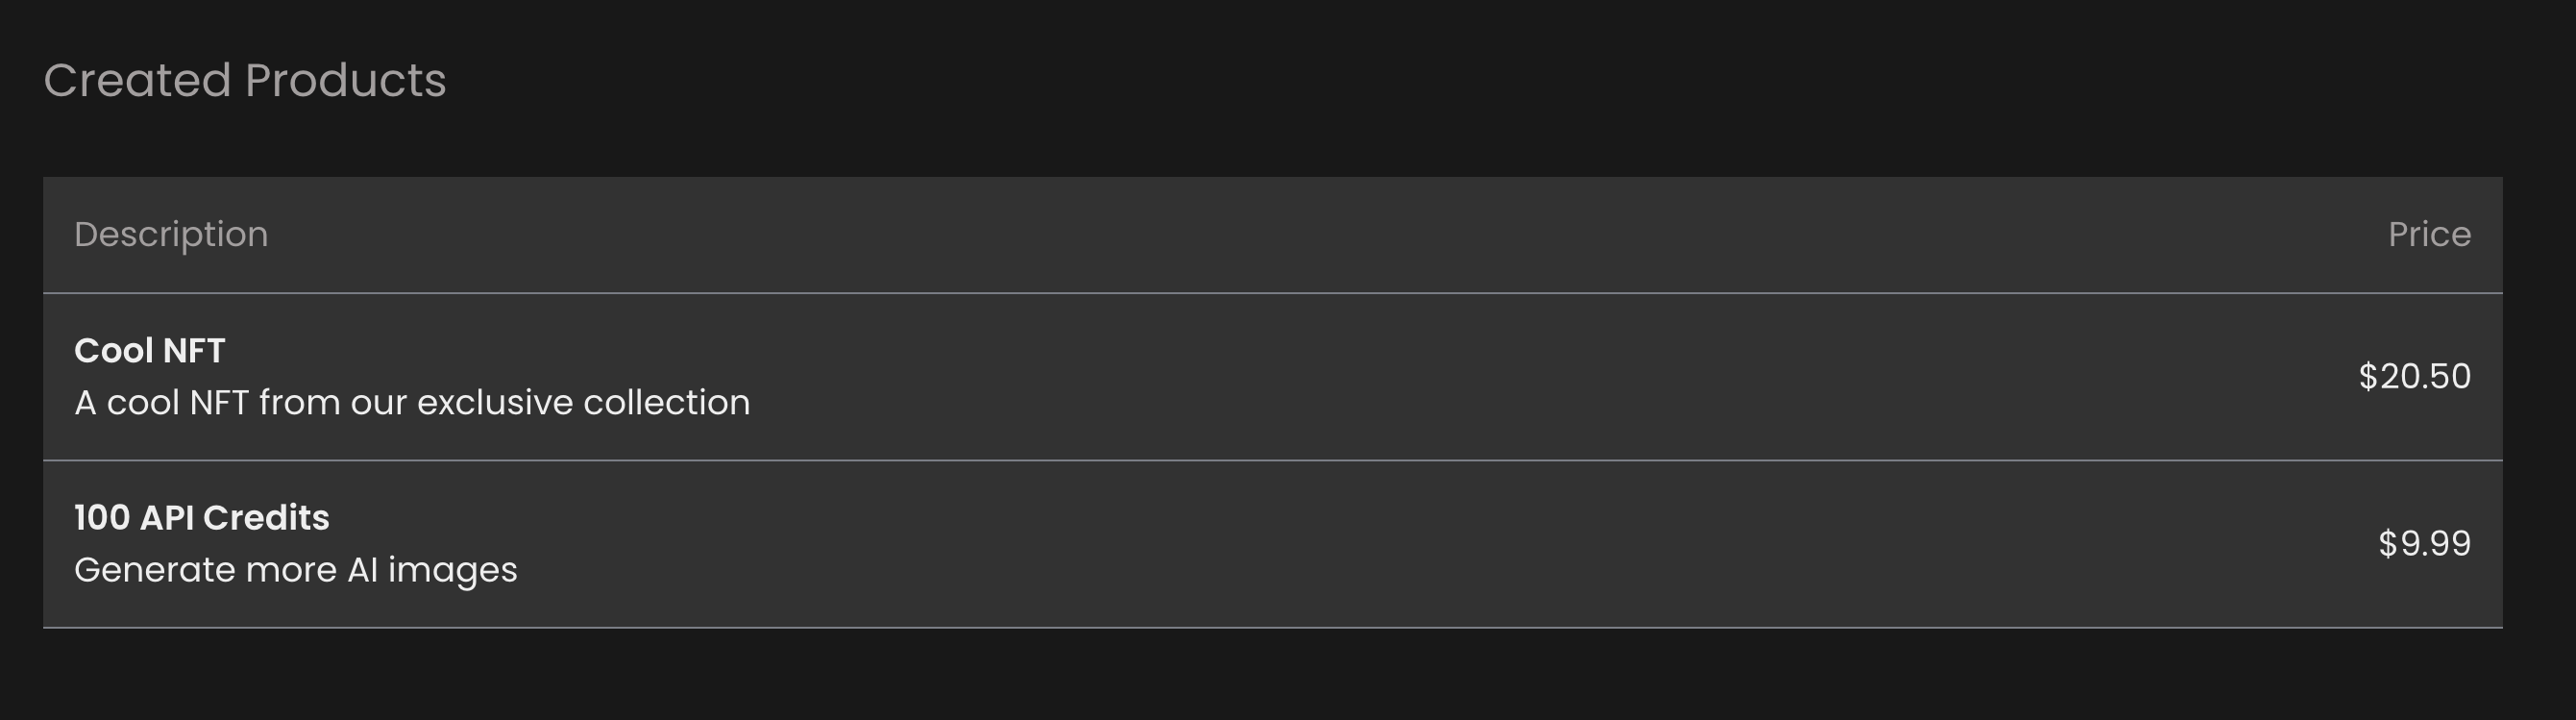
Now click on "Create Product" (which is free), and wait a few seconds until your product appears in the Created Products table
💸 implement the checkout link
Happy you made it this far! In order to be able to start accepting payments, you'll of course need a checkout page. Each of your products has a checkout page, which consists of our domain and the productId and optional metadata.
To implement it in your code, you just a simple <a> tag with the text i.e. "Pay with crypto":
export default function BuyButton() {
  return (
    <a
      href={`https://checkout.brixpay.io/7ce3c19a-ecfd-4184-b585-b0ee9a57d4e2`}
      target="_blank"
      className="px-4 py-2 bg-[#29f6e3] text-black cursor-pointer hover:shadow-lg shadow-[#29f6e3]/40 active:scale-95 transition duration-150"
    >
      Pay with crypto
    </a>
  )
}🧩 Metadata
You can add metadata as searchParams to your checkout URL which will be sent in the webhook payload.
You provide metadata by giving your key-value keys a meta_ prefix (means you put meta_ in front of your key) and then the value. For example: https://checkout.brixpay.io/7ce3c19a-ecfd-4184-b585-b0ee9a57d4e2?meta_username=Julian_s10
NOTE: The meta_ prefix will be removed in the webhook payload, so you will receive for example { username: "Julian_s10" } } instead of { meta_username: "Julian_s10" } }.
You can also provide as much metadata as you want: https://checkout.brixpay.io/7ce3c19a-ecfd-4184-b585-b0ee9a57d4e2?meta_username=Julian_s10&meta_referrer=twitter&meta_country=usa
NOTE: If you have sensitive information, it would be better if you create a "data pack", like an id which points to some data in you application, for example: "abc123": { "username": "Julian_s10", "referrer": "twitter", "country": "usa" }
and then in your URL: https://checkout.brixpay.io/7ce3c19a-ecfd-4184-b585-b0ee9a57d4e2?meta_datapack=abc123